How To use?
Instructions
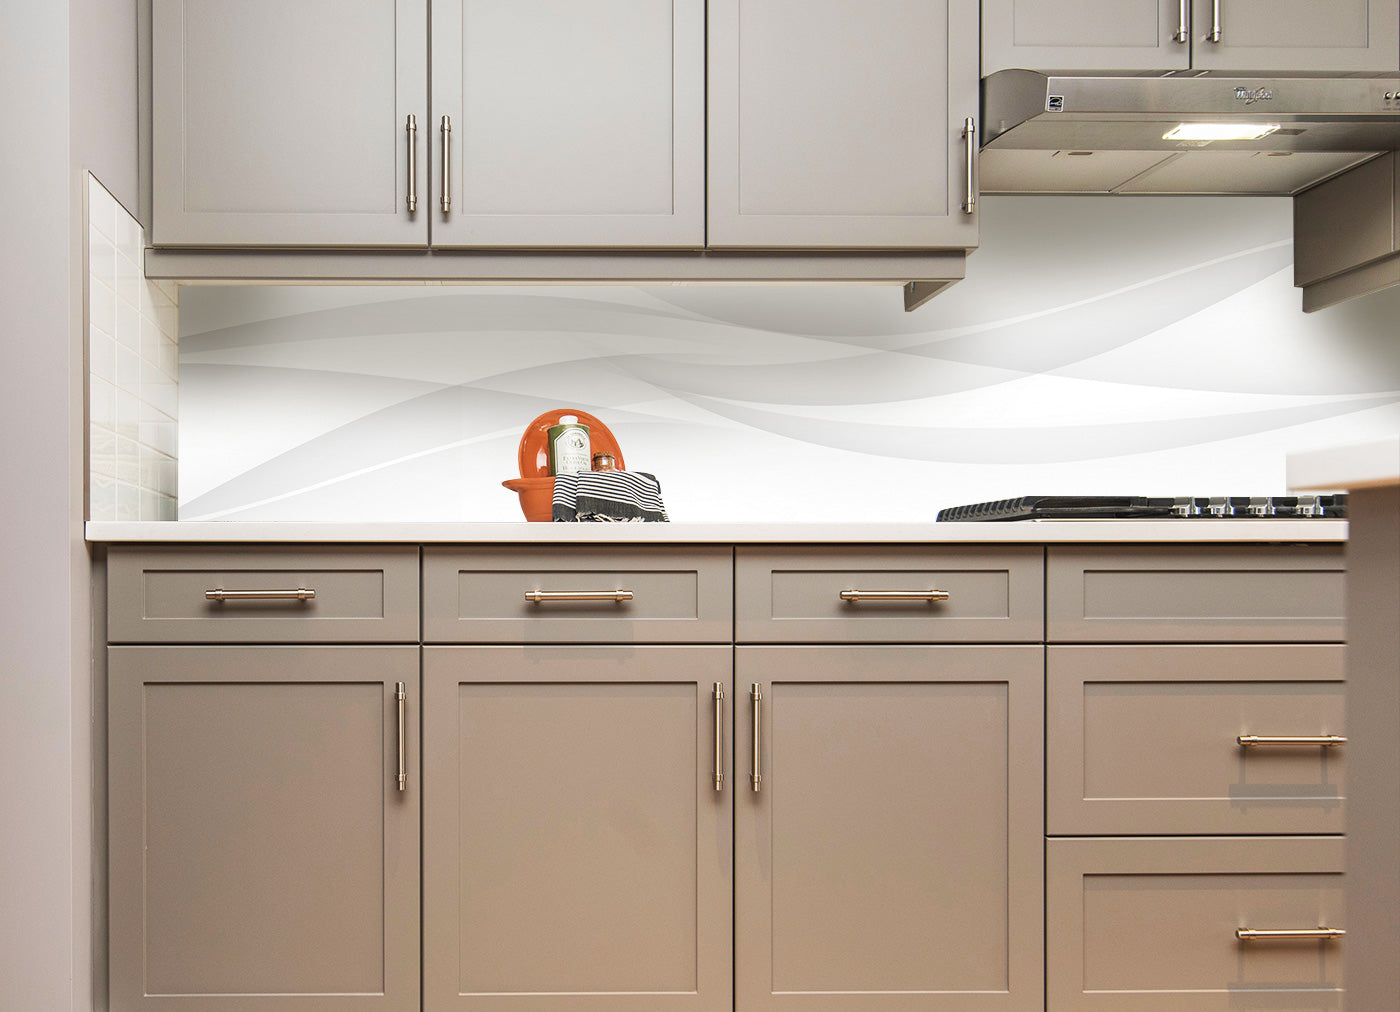
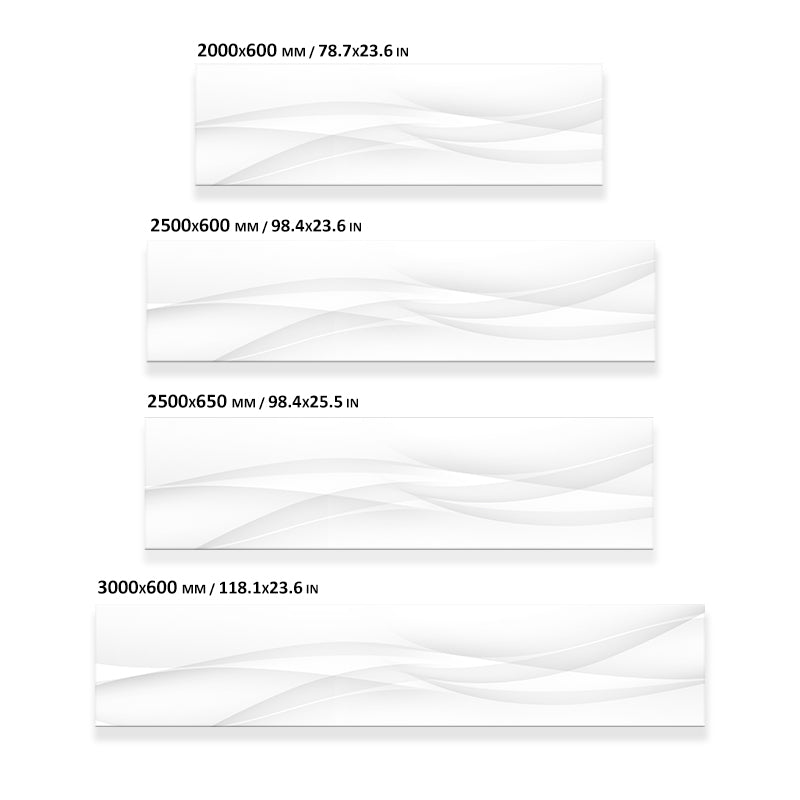
INSTRUCTIONS FOR MOUNTING THE STICKER ON THE KITCHEN APRON, ON THE FRIDGE AND ON THE DOOR
Auxiliary materials:
- - Rag and plastic card
- - Scissors or a utility knife
- - Adhesive tape
Prepare the sticker: Unfold the sticker and place it on the surface you want to stick. If the sticker is larger than you need, you can cut off the excess with scissors.
Prepare the surface: Clean the surface before applying. Refrigerator – moisten with water and stick to a damp surface, other surfaces should be dusted without using water.
Remove the backing: Position the sticker on the surface and fix it with adhesive tape. Carefully peel off the paper backing approximately 5–7 cm and cut it off.
Glue the sticker: Glue the sticker to the surface, levelling it with a plastic card from the centre to the edge, gradually removing the paper backing.
Continue gluing: Remove the backing and smooth the surface so that there are no bubbles or creases. Bubbles can be pierced with a needle and smoothed out with a plastic card.
Remove the creases: The crease that has formed can be removed with a hairdryer. Heat it with a hairdryer and smooth it out with a plastic card.
Notes:
- The stickers don’t adhere well when the air temperature is below +10°C. Warm the surface with a hairdryer.
- It is better to stick large stickers with an assistant.
- Do not remove the entire sticker from the paper backing at once!
- Do not try to peel off the sticker to apply it again. It will not stick as well.
- Fridge – stick to a damp surface.
- If any bubbles form, pierce them with a needle and smooth them out by releasing air.
Care: As the sticker has a protective lamination, you can wash it without hesitation with a soft rag and detergent.
Enjoy the result!
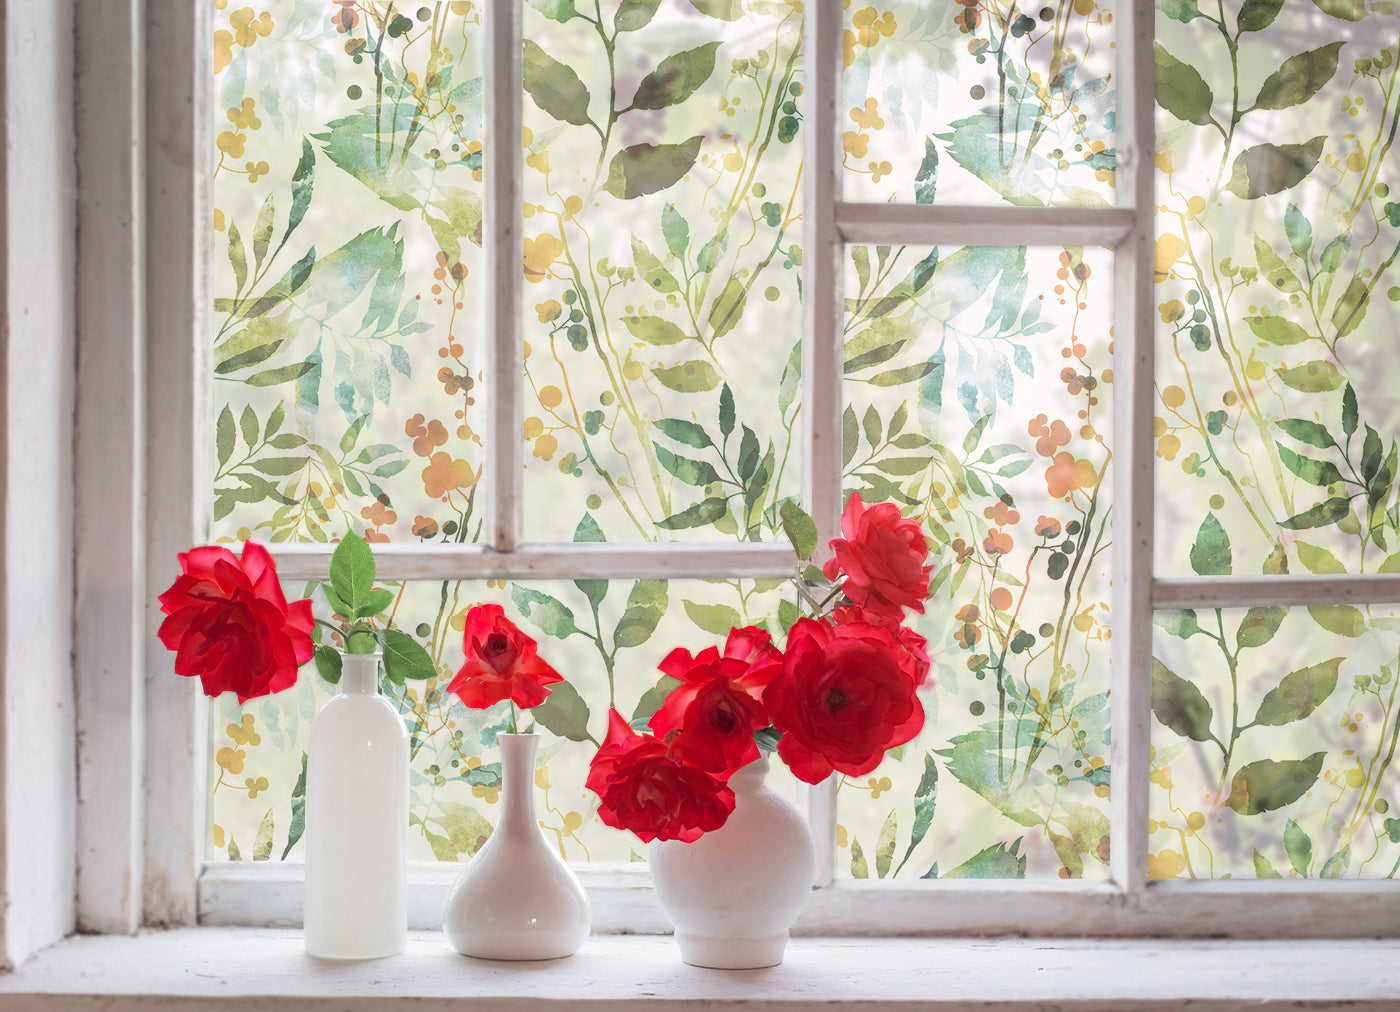
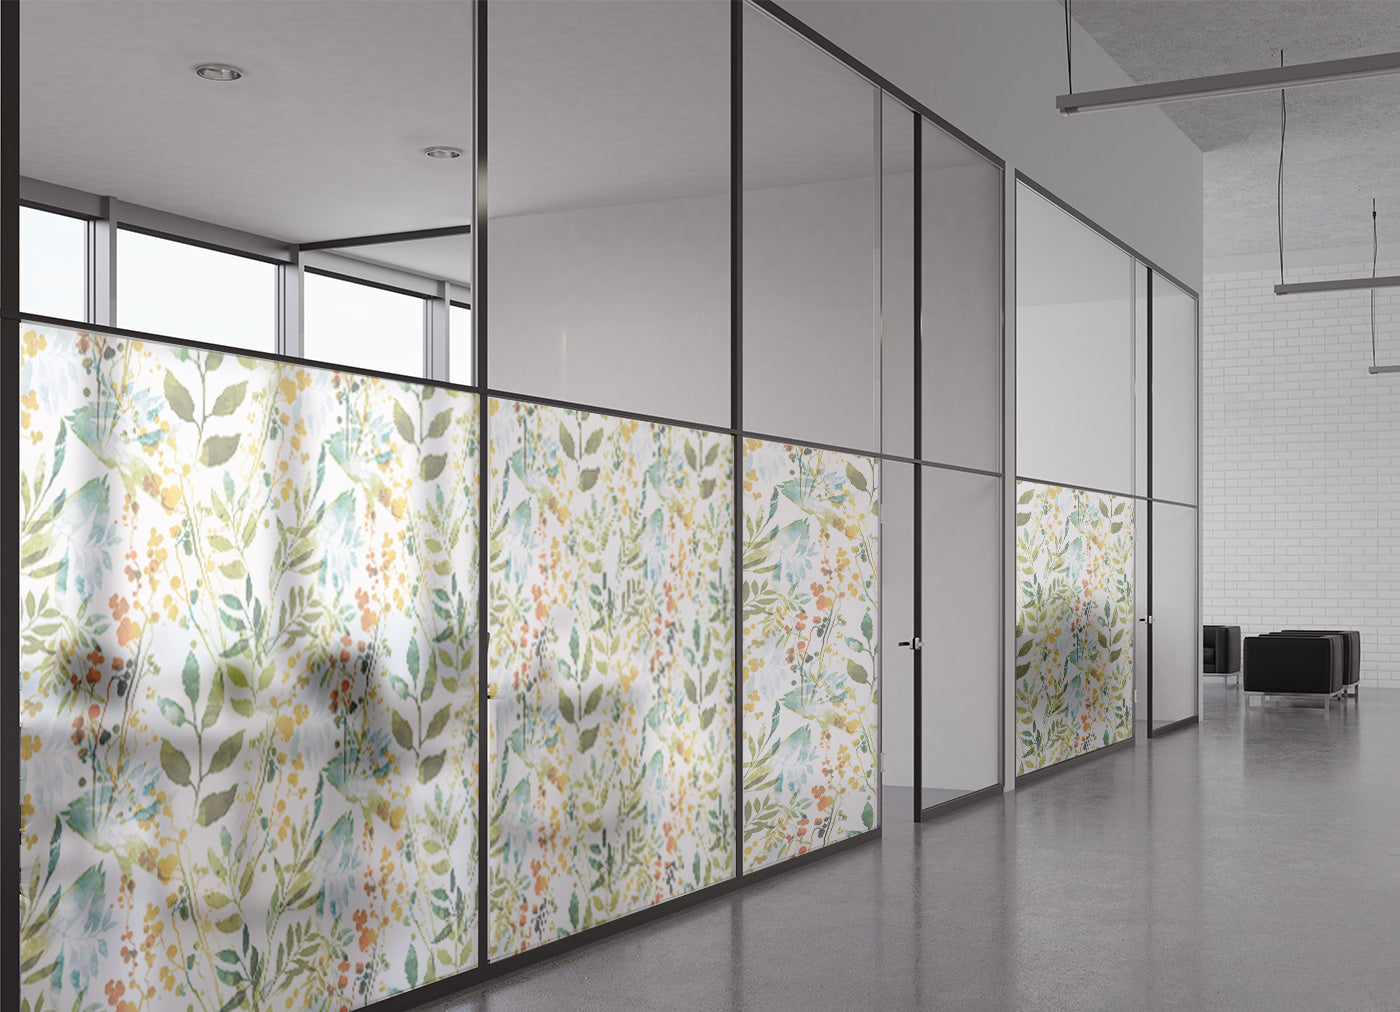
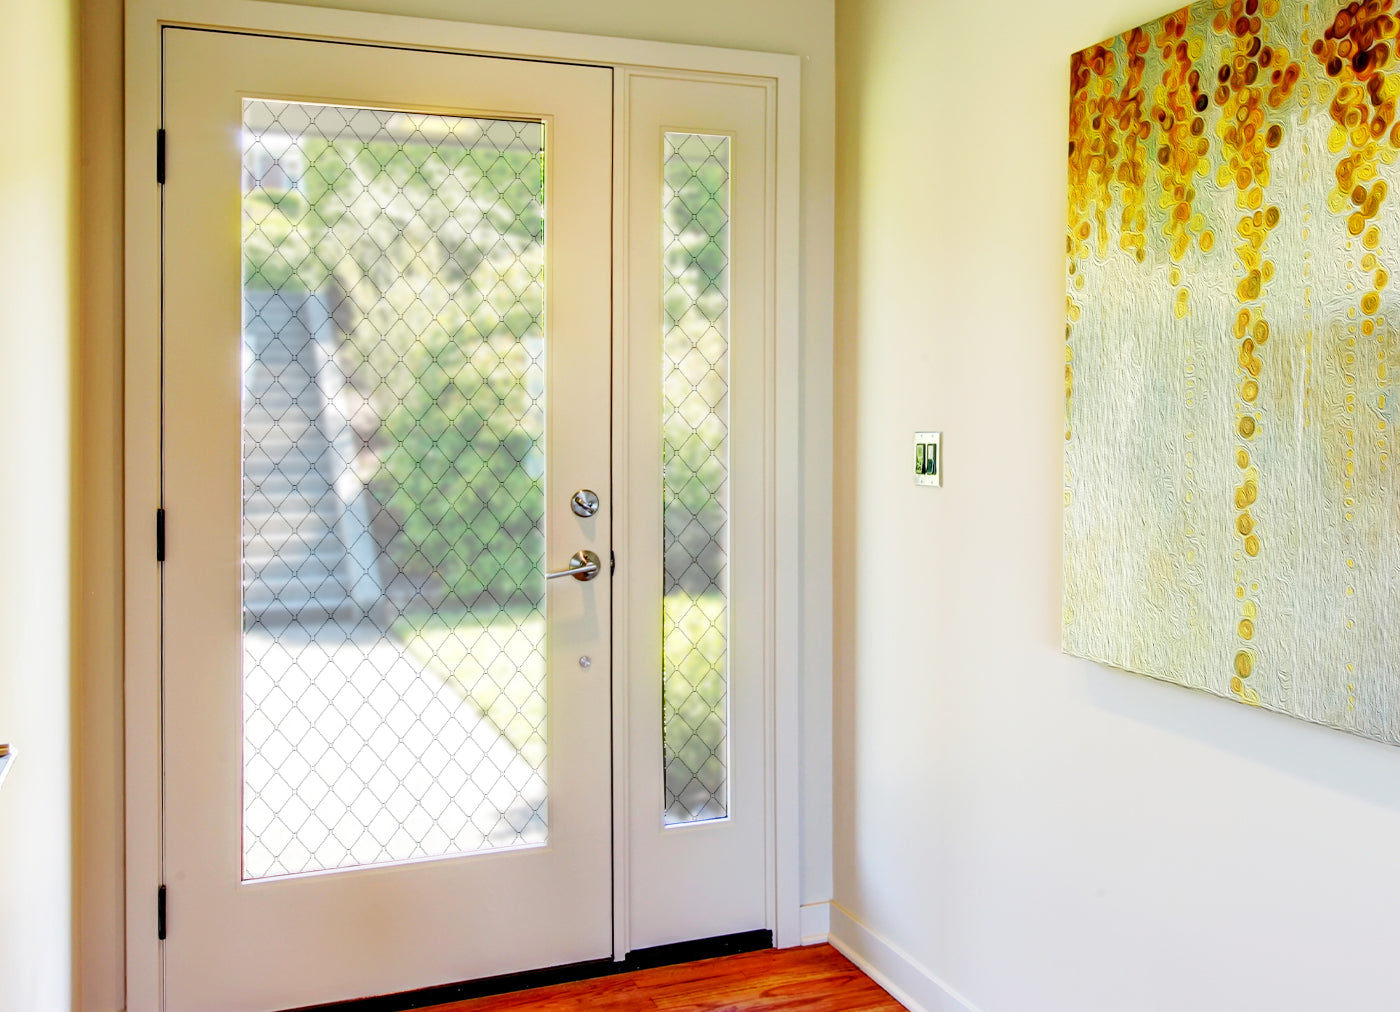
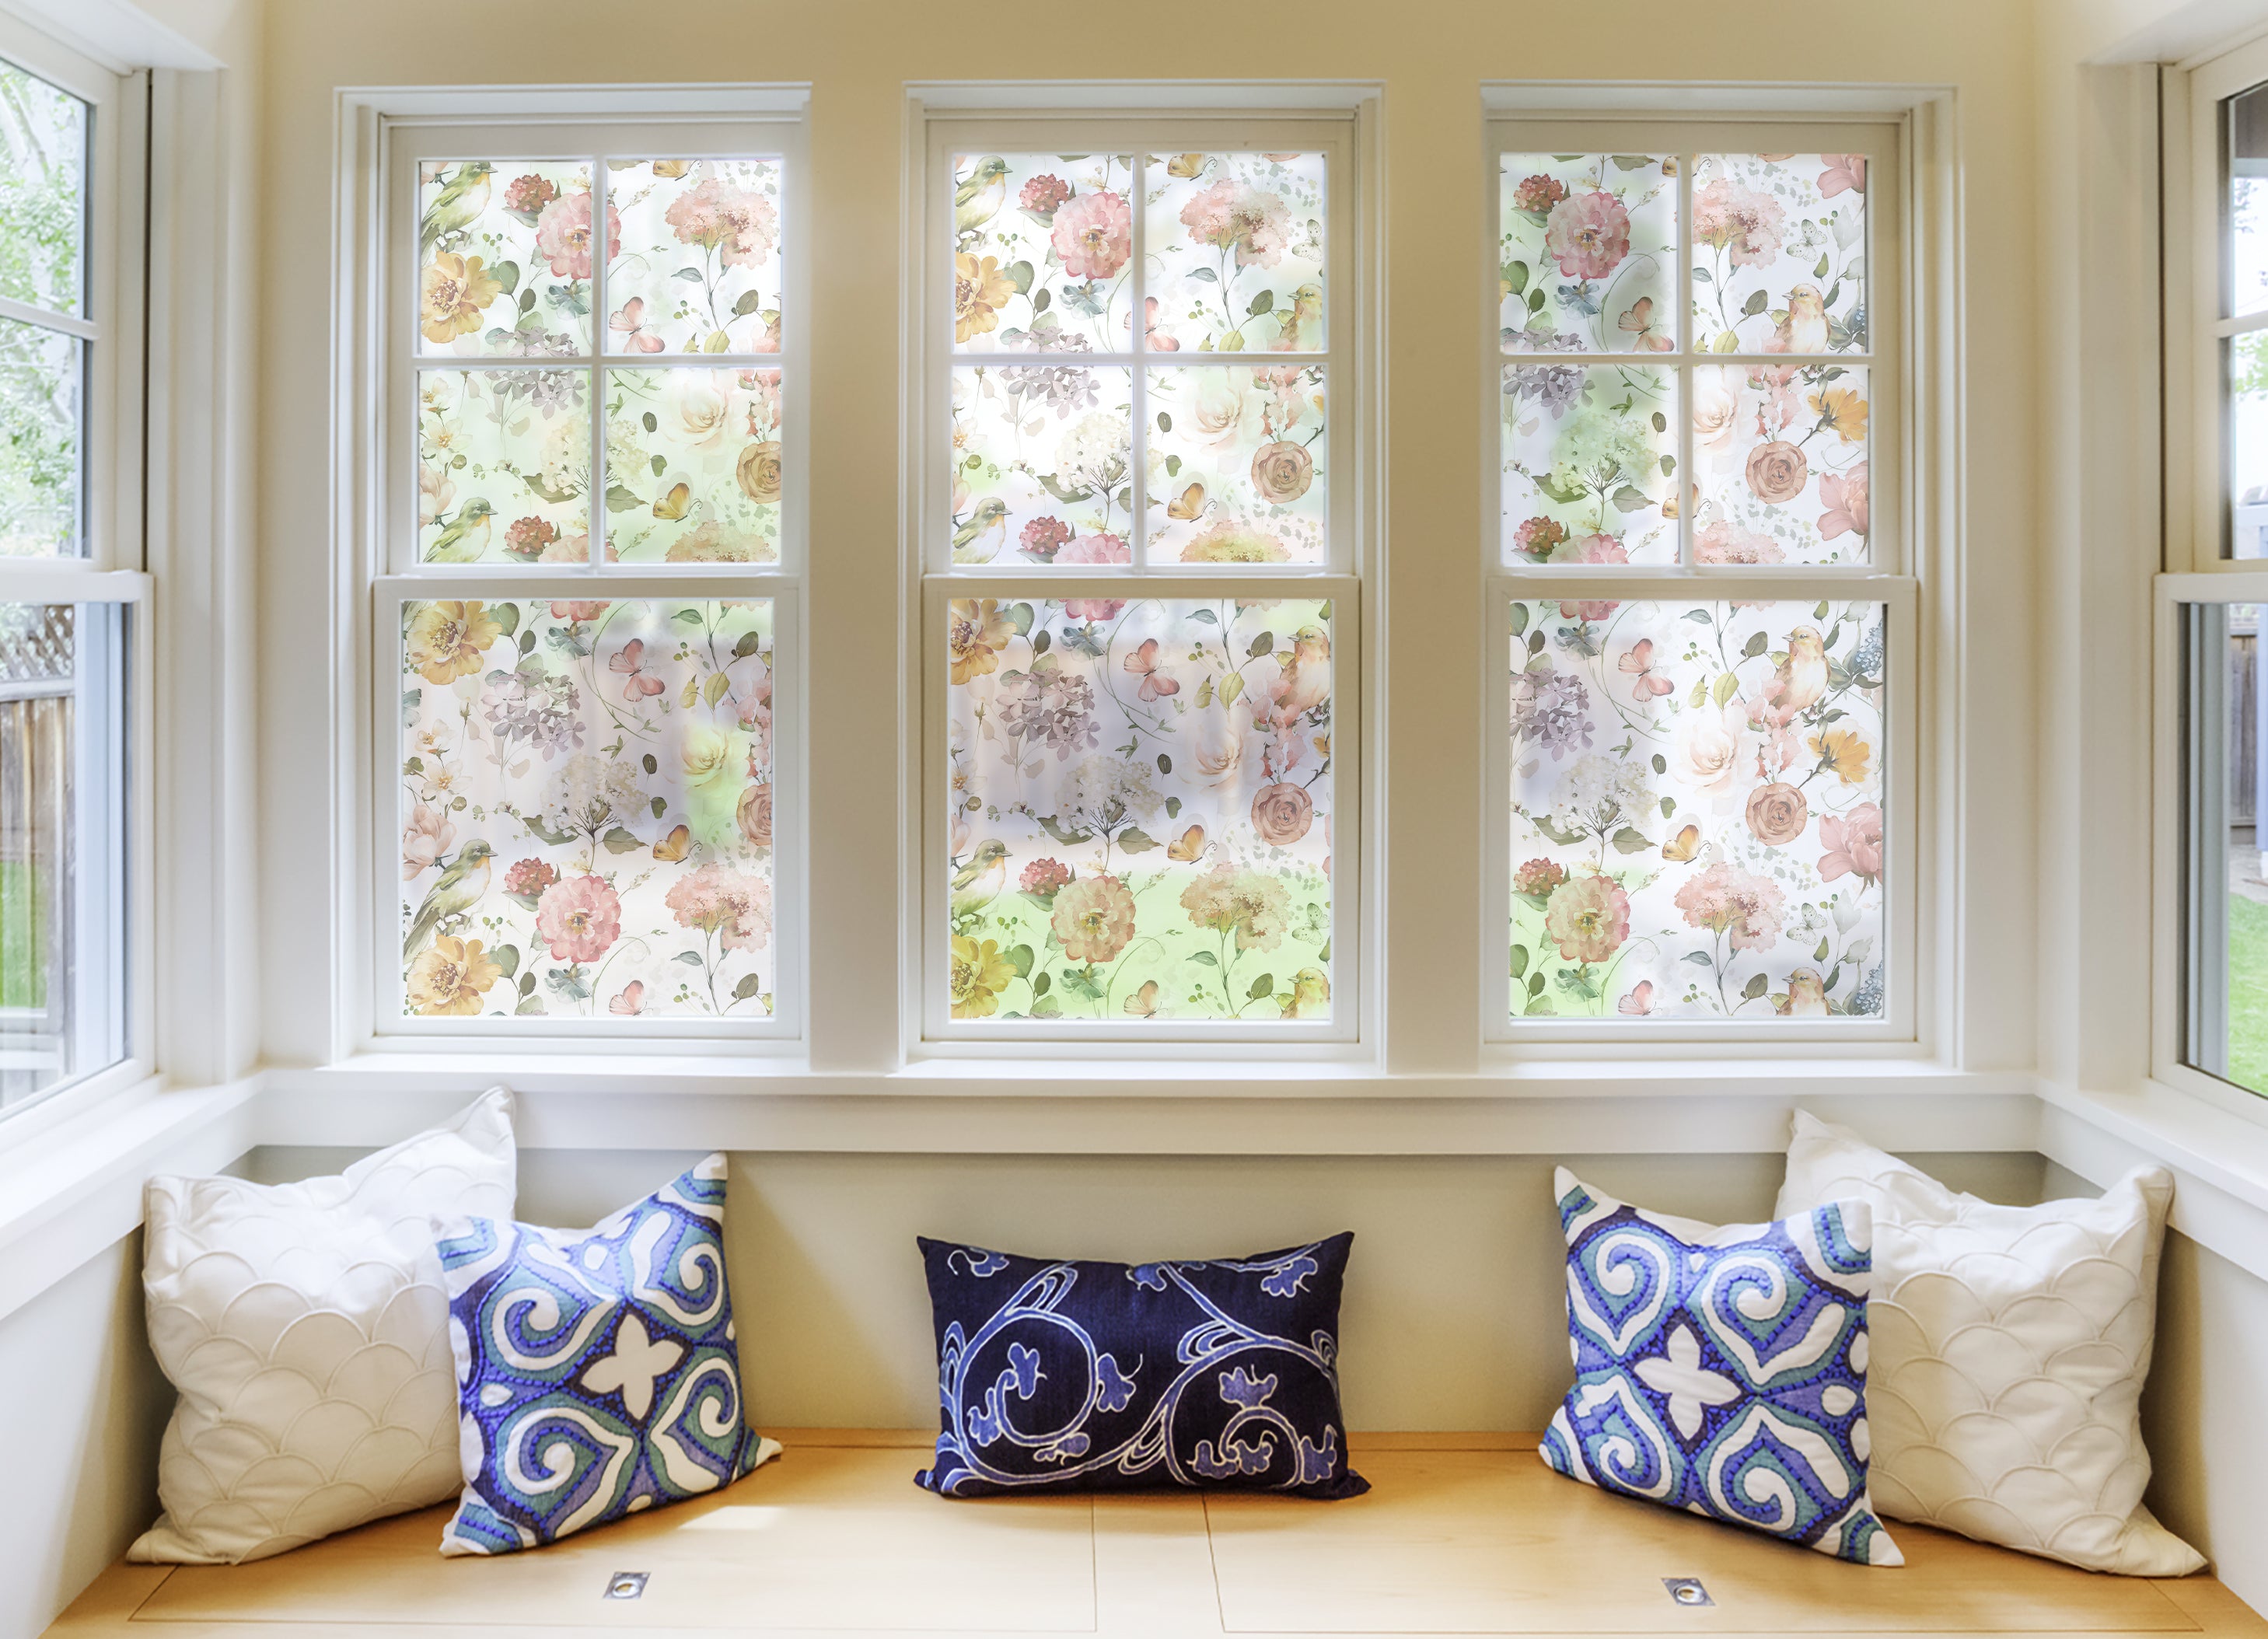
INSTALLATION INSTRUCTIONS FOR THE MATTING FILM
Auxiliary materials:
- Rag and plastic card
- Scissors or a utility knife
- Water
Prepare the surface: The surface to be pasted must be clean — this is the key to correct and reliable adhesion of the film.
Prepare the sticker: Place the sticker on the surface with the paper backing on top. Separate the paper backing from the film and peel off 15–20 centimetres.
Use water: Moisten the sticker and the glass with water. This ensures that the adhesive layer is weaker, allowing you to re-stick if needed.
Start gluing: From top to bottom, use a rag or plastic card to expel water and air from under the sticker (move from the centre to the sides).
Continue to remove the backing: Gradually remove the paper backing downwards, spraying the sticker and glass with water, and continue smoothing with the rag.
Pull downwards: Gently peel off the backing and pull it downwards, smoothing the sticker to remove water and air. Cut off the excess film when dry.
Notes:
- The stickers don’t adhere well when the air temperature is below +10°C — warm the surface with a hairdryer.
- Do not pull the film — it is elastic and stretches easily.
- Freshly applied film on wet glass can come off easily — do not disturb it until fully dry.
- Avoid touching the adhesive side to prevent dust contamination and poor adhesion.
- If any bubbles form, pierce them with a needle and smooth them out by releasing air.
Care: Windows covered with film should be washed carefully to avoid accidentally lifting the film edges.
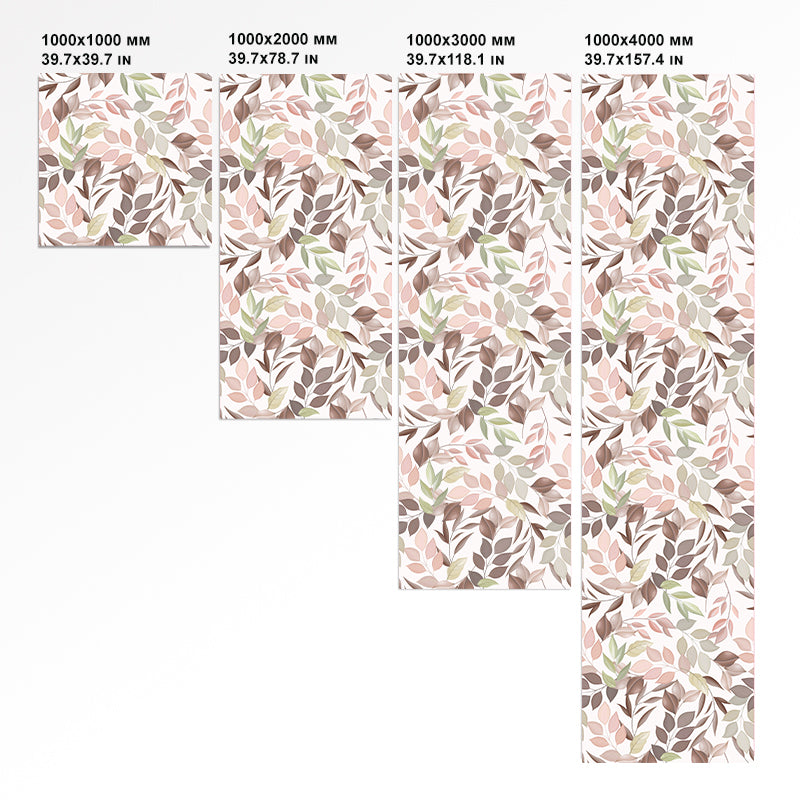
INSTRUCTIONS FOR MOUNTING THE INTERIOR STICKER
Auxiliary materials:
- Rag and plastic card
- Scissors or a utility knife
- Adhesive tape
Prepare the surface: Before applying the sticker, you need to clean the surface to be decorated.
Position the sticker: Position and fix the sticker with tape on the surface you want to stick.
Separate the sticker from the backing: Carefully peel off about 5–7 cm of the paper backing and cut it away. Glue the sticker with the mounting film to the surface by gently smoothing the sticker with a plastic card.
Remove the backing: Continue removing the backing from behind the sticker and pressing it onto the surface. If a fragment doesn't detach from the backing, press it back to the mounting film, smooth it out with the plastic card, and try again.
Before removing the mounting film: Carefully press all the image fragments (especially small ones) again from the middle to the edges.
Remove the mounting film: Peel off the top edge of the mounting film, then slowly pull it downwards parallel to the surface until it is completely removed. Wipe the sticker with a soft rag.
Notes:
- The stickers don’t adhere well when the air temperature is below +10°C. Warm the surface with a hairdryer.
- It is better to stick large stickers with an assistant.
- The sticker consists of a mounting film (not included with all stickers), which helps to transfer the design without losing its integrity, and a paper backing protecting the adhesive side.
- If any bubbles form, pierce them with a needle and smooth them out by releasing air.
Care: Do not hesitate to wipe the sticker with a soft rag.
Enjoy the result!